


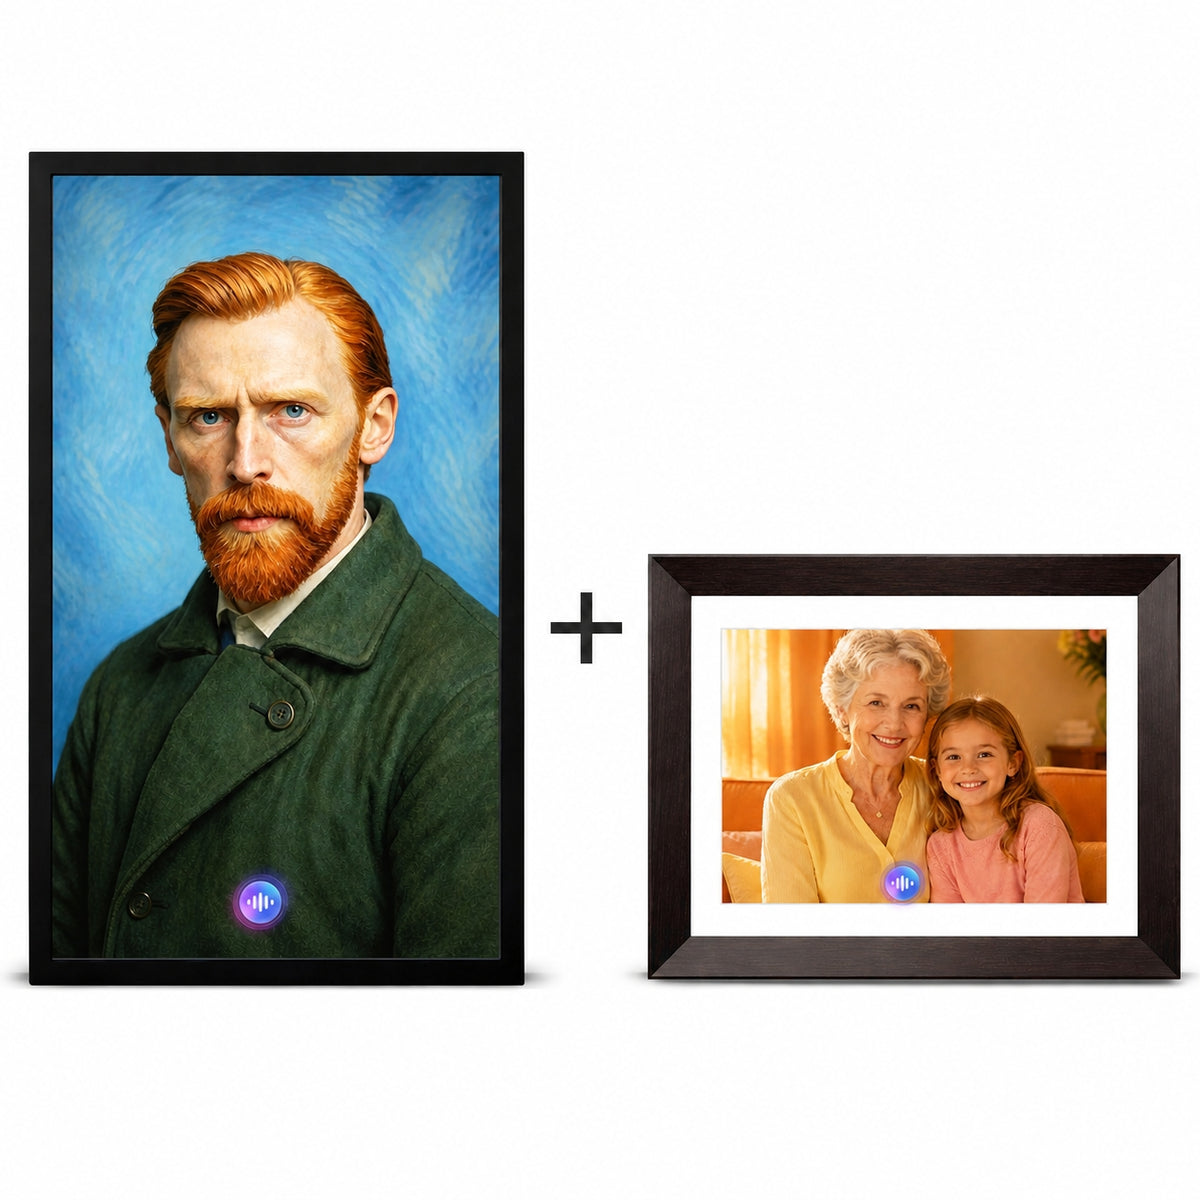
Welcome to Vinabot! This guide walks you through everything from opening the box to your first interaction with your AI Talking Frame. Follow the steps below and you'll be up and running in under 10 minutes.
Quick Setup Overview
Step 1: Download the Vinabot App
The Vinabot App is your control center — you'll use it to manage your frame, upload content, and create AI characters. Install it before powering on your frame.
iOS
- Open the App Store.
- Search for "Vinabot".
- Tap "Get" to download and install.
- Tap "Open" to launch the app.
Android
- Open the Google Play Store.
- Search for "Vinabot".
- Tap "Install" to download.
- Tap "Open" to launch the app.
Tip: You can also scan the QR code printed in the user manual to jump directly to the app download page.
Step 2: Power On & Connect to Wi-Fi
Now it's time to wake up your frame.
2.1 Position Your Frame
- AF1 (21.5"): Place on a stable desk/table, or install the wall-mount bracket before this step if you plan to hang it. If wall-mounting, connect the power adapter before securing the bracket to the frame. Recommended screen center height: 1450–1500 mm from the floor (eye level for a standing adult).
- AF1 Mini (10.1"): Place on a stable desktop, nightstand, or shelf.
Safety note: Keep the device away from water sources, heat sources, and direct sunlight. Operating temperature: 0°C–40°C (32°F–104°F).
2.2 Connect Power
- Attach the appropriate plug adapter to the original power adapter.
- Connect the power adapter to the DC IN port on the back of the frame.
- Plug the power adapter into a wall outlet.
Important: Vinabot has no built-in battery — it must remain plugged in at all times. Always use the original adapter. The AF1 requires DC 12V/3A; the AF1 Mini requires DC 5V/3A.
2.3 What to Expect When You Power On
- The screen will light up and display the Vinabot startup screen.
- After a few seconds, you'll see a Wi-Fi setup screen or a QR code for binding.
- If the screen doesn't turn on, check that the power adapter is firmly connected at both ends and the outlet is working.
2.4 Connect to Wi-Fi
- On the Wi-Fi setup screen, select your home Wi-Fi network.
- Enter your Wi-Fi password using the on-screen keyboard.
- Vinabot supports both 2.4GHz and 5GHz networks. For the most reliable connection, we recommend 2.4GHz for longer range or 5GHz for faster speeds if the frame is near your router.
- Once connected, the screen will display a QR code — this is what you'll scan in Step 4.
Indicator light behavior: The frame's status is shown on-screen. If you see a "No Connection" message, double-check your Wi-Fi password or try moving the frame closer to your router.
Step 3: Create an Account & Log In
A Vinabot account is required to bind your frame, manage content, and use AI features. You can create one in seconds using any of the four supported login methods:
| Method | Best For |
|---|---|
| Apple ID | iOS users — fastest, one-tap |
| Google Account | Android or cross-platform users |
| Email verification code | Users who prefer not to link third-party accounts |
| Account & password | Users with an existing Vinabot account |
How to Log In
- Open the Vinabot App.
- The login page appears on the home screen.
-
Choose your preferred method:
- Apple: Tap the "Apple" button → select your Apple ID → confirm authorization.
- Google: Tap "Sign in with Google" → select your Google account → confirm.
- Email: Tap "Email Login" → enter your email → tap "Get Code" → check your email for a 6-digit verification code → enter the code and tap "Login."
- Password: Tap "Account Login" → enter your credentials → tap "Login."
Note: If you're on the Account Login screen and want to return to another method, tap the "×" button in the upper right corner.
Step 4: Bind Your Frame to Your Account
Binding pairs your frame with your Vinabot account so they can sync content over the cloud. No need to be on the same Wi-Fi network — your phone just needs an internet connection.
Before You Start, Make Sure:
- Your frame is powered on and connected to Wi-Fi (the QR code is visible on screen).
- Your phone is connected to the internet (Wi-Fi or mobile data).
- You're logged into the Vinabot App on your phone.
Binding Steps
- In the Vinabot App, go to the home screen and look for the "My Devices" section.
- Tap the "+ Add Device" button.
- Select "Scan QR Code".
- Allow the app to access your camera (required on first use).
- Point your phone camera at the QR code displayed on your frame's screen.
The binding happens instantly. Once successful, your frame will appear in the "My Devices" list on the home screen.
Something went wrong? If the scan doesn't work, ensure the QR code is clearly visible on the frame and your camera lens is clean. For persistent issues, contact support@vinabot.ai for assistance.
Step 5: Add Content
Your frame is now ready to come alive! Here's what you can do next:
Add Your First Photos & Videos
- From the home screen, tap on your newly bound device to enter its device details page.
- Use the Asset Distribution section to send photos, videos, or AI characters to the frame.
- Choose from 5 asset types: Character, Image, Video, Mixed Play, or Voice.
App Onboarding: The 5-Step New User Guide
The first time you log into the Vinabot App, you'll see a built-in 5-step new user guide that introduces the app's core features. This helps you understand what Vinabot can do without reading through a long manual.
- To skip: Tap "Skip" at any time if you'd rather explore on your own.
- To revisit later: Tap the "?" icon in the upper right corner of the home screen. This opens the full illustrated tutorial any time you need a refresher.
Before You Bind: Preparation Checklist
Here's a quick checklist to review before starting the binding process:
| What You Need | Status |
|---|---|
| Frame is plugged in and powered on | 🔌 |
| Frame is connected to Wi-Fi (QR code visible on screen) | 📶 |
| Vinabot App is installed on your phone (iOS or Android) | 📱 |
| You're logged into the app (Apple/Google/Email/Password) | 🔑 |
| Your phone has internet access (Wi-Fi or mobile data) | 🌐 |
| You're within camera range of the frame's QR code | 📷 |
Customizing Your Device Name
Giving your frame a meaningful name makes it easier to manage, especially if you have multiple devices — e.g., "Living Room Frame," "Grandma's Frame," or "Office Display."
How to Rename Your Device
- From the home screen, tap your device card to enter the device details page.
- Tap the "Device Info" card in the middle of the screen.
- Tap the "Device Name" row — an edit popup will appear.
- Enter your new name, then tap "Save" to apply (or "Cancel" to discard changes).
How to Find Your Device Serial Number (SN)
Need the SN for support? Long-press the "Device SN" row on the Device Info page. A "Copy successful" message will appear and the serial number will be copied to your clipboard.
Setup FAQ
Do I need a subscription to set up and use Vinabot?
No. A subscription is not required. Core features — photo slideshows, video slideshows, and the calendar — are always free. Every Vinabot also includes free AI Credits, so you can start using AI features immediately after setup.
Can I set up Vinabot without creating an account?
No. A Vinabot account is required to bind devices, manage content, and use AI features. You can register quickly using Apple ID, Google, or email — no lengthy forms to fill out.
Does my phone need to be on the same Wi-Fi as the frame during setup?
No. Your phone only needs an internet connection (Wi-Fi or mobile data). The frame communicates with your account through Vinabot's cloud servers, so you can bind it from anywhere — even if your phone is on mobile data and the frame is on your home Wi-Fi.
Does the frame need to stay connected to my phone after setup?
No. Once the frame is set up and bound to your account, it operates independently. Your phone is only needed when you want to manage settings, upload content, or use app-controlled features.
What if the QR code doesn't scan?
- Make sure the QR code is clearly displayed on the frame's screen (it should be well-lit and not obstructed).
- Clean your phone's camera lens.
- Ensure the app has camera permission (check your phone's settings).
- Try moving your phone closer or further from the screen.
For persistent issues, contact our customer support team for help.
Can I rename my device later?
Yes. You can rename your device at any time from the Device Info page. See Customizing Your Device Name above.
When will my 6-month Silver membership start?
Your Silver membership takes effect immediately upon your first device binding. If this is your second or subsequent device, the 6 months are added to your existing membership period.
Can I set up the frame as a gift without opening the box?
Yes! Vinabot supports Gift Mode, which lets you pre-configure photos, videos, and a personalized message on an unopened frame. See our Gift Guide for detailed instructions.
Need Help?
If you run into any issues during setup, our support team is here to help:
- Email: support@vinabot.ai
- In-App: Open the Vinabot App → Me → Support
- Onboarding guide: Tap the "?" icon in the upper right corner of the app home screen at any time.
When contacting support about a setup issue, please include:
- Your device model (AF1 21.5" or AF1 Mini 10.1")
- Serial number (SN)
- A description of which step you're stuck on